I love this time of year! A time to celebrate with the people that you love. For me it's also a time to give gifts that are meaningful and from the heart. Along with the gifts I love to make my own cards. It just adds the perfect personal touch when giving a gift.
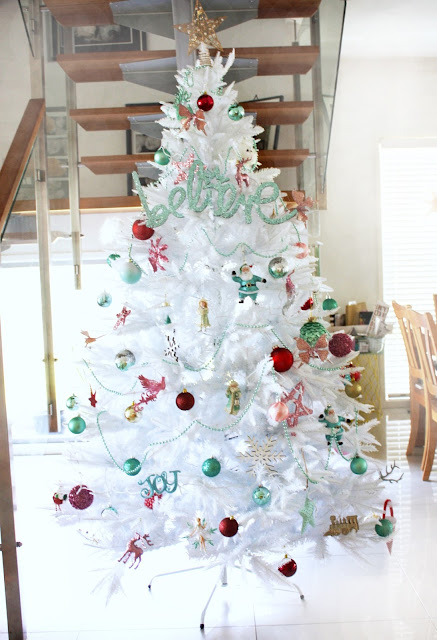
Today I want to share 3 different cards using the DIY Gift Wrap collection. I started with some of my favorite pieces from the collection -stamps, ink, paint, paper, ribbon & embellishments plus some coloured cardstock that matches my Christmas decor this year( mint, pink and red) and got to work.

For my first card I created some ombre Christmas trees using the foam tree stamp and red and white paint from the collection.

For this card I began with the Tree Foam stamp and the red and white paint. I mixed a small amount of pink paint using the red and white until I got the desired color.

Next I used a make up wedge to apply some white paint to the tip, then the pink paint to the rest of the tree and a smidge of red paint to the trunk. Only a small amount of paint is needed on the foam to stop it slipping around as you stamp.

Finally I stamped the stamp onto my cardstock using a slight rocking motion to make sure I got an even coverage of the paint. I Continued applying the ombre paint onto my stamp and stamped each tree across the width of my cardstock.

I completed my card by adding a punched star to one of the trees and using the Merry Stamp from the collection to create a simple banner.

For my next card I used the Mini Wreaths from the collection as a focal point for my card. I wrapped some of the red velvet trim ( also from the collection) around the wreath and trimmed it with my scissors. I then added a red brad from my stash to hold the ribbon together.

I then used the Believe wooden stamp and red ink to stamp on to the DIY banner and then adhered it to the wreath.

For my last card I wanted a tone on tone effect so I used the Joy wooden stamp and the red ink to stamp on some red cardstock. I love the subtle pattern that is created with this technique.

I completed my card by wrapping some of the red and white trim from the collection around the cardstock then layered the clear star embellishment over the white and gold circle tag and tied it around the bow.

There you go. 3 quick and easy but beautiful Christmas cards that I know you will just love making and more importantly giving!
I really hope you will try out these fun and easy techniques.
All items shown are from the
Heidi Swapp DIY Gift Wrap Collection available at select
Jo-Ann stores and online & independent retailers
Save
Save


 There you go. 3 quick and easy but beautiful Christmas cards that I know you will just love making and more importantly giving!
I really hope you will try out these fun and easy techniques.
All items shown are from the